
This tutorial guides you through configuring your profile settings and managing agent information within the Realistic RE application.
1. Introduction Part 1
These are basic but essential configurations, as the information you set up here will appear on your agent or team websites and in emails sent to clients through the Realistic RE portal.
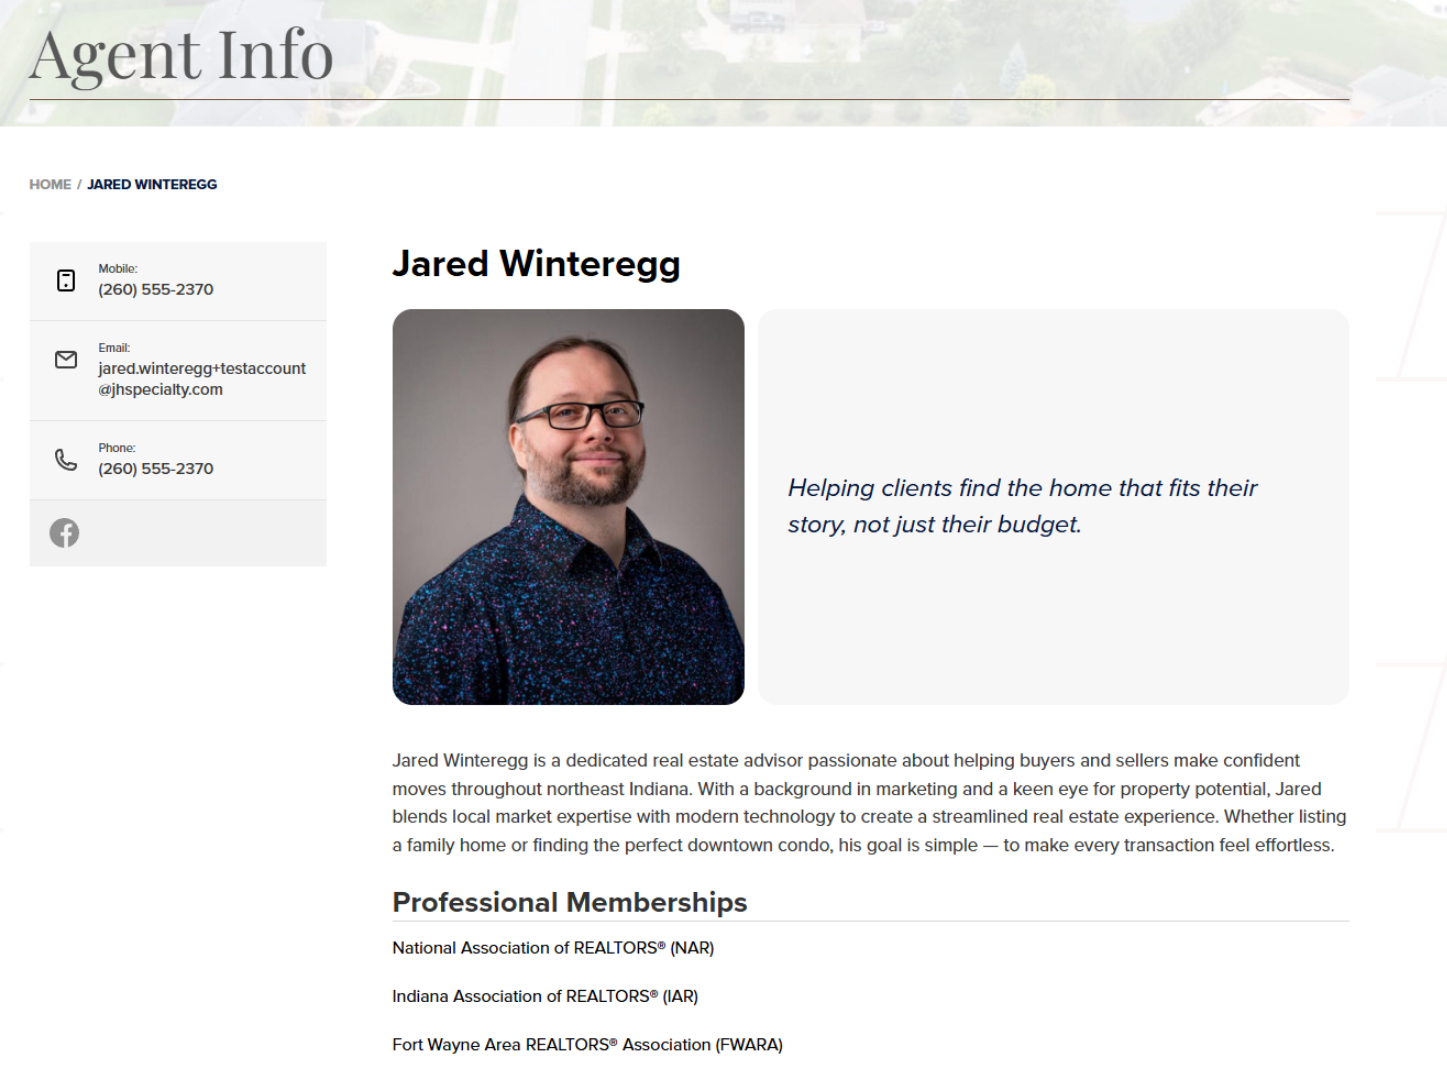
2. Introduction Part 1
You will learn how to upload images, update contact details, and link professional data effectively. Having these details correctly configured ensures your communications and online presence are accurate and consistent.
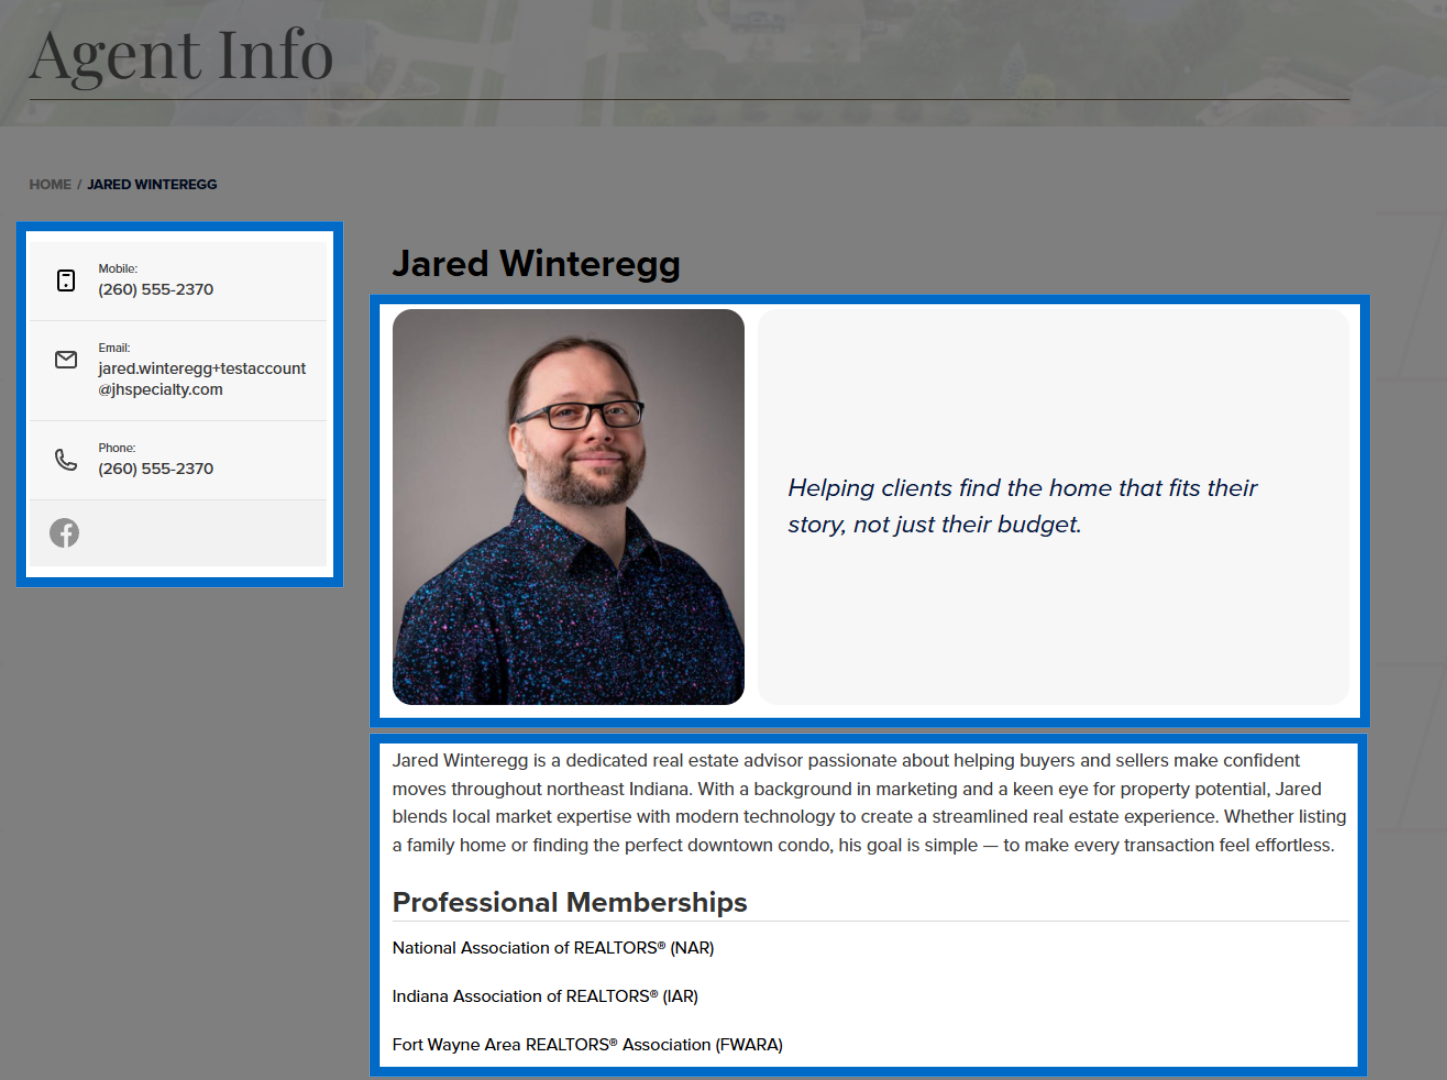
3. Introduction
First you will need to be logged in to the Realistic RE portal for your agency.
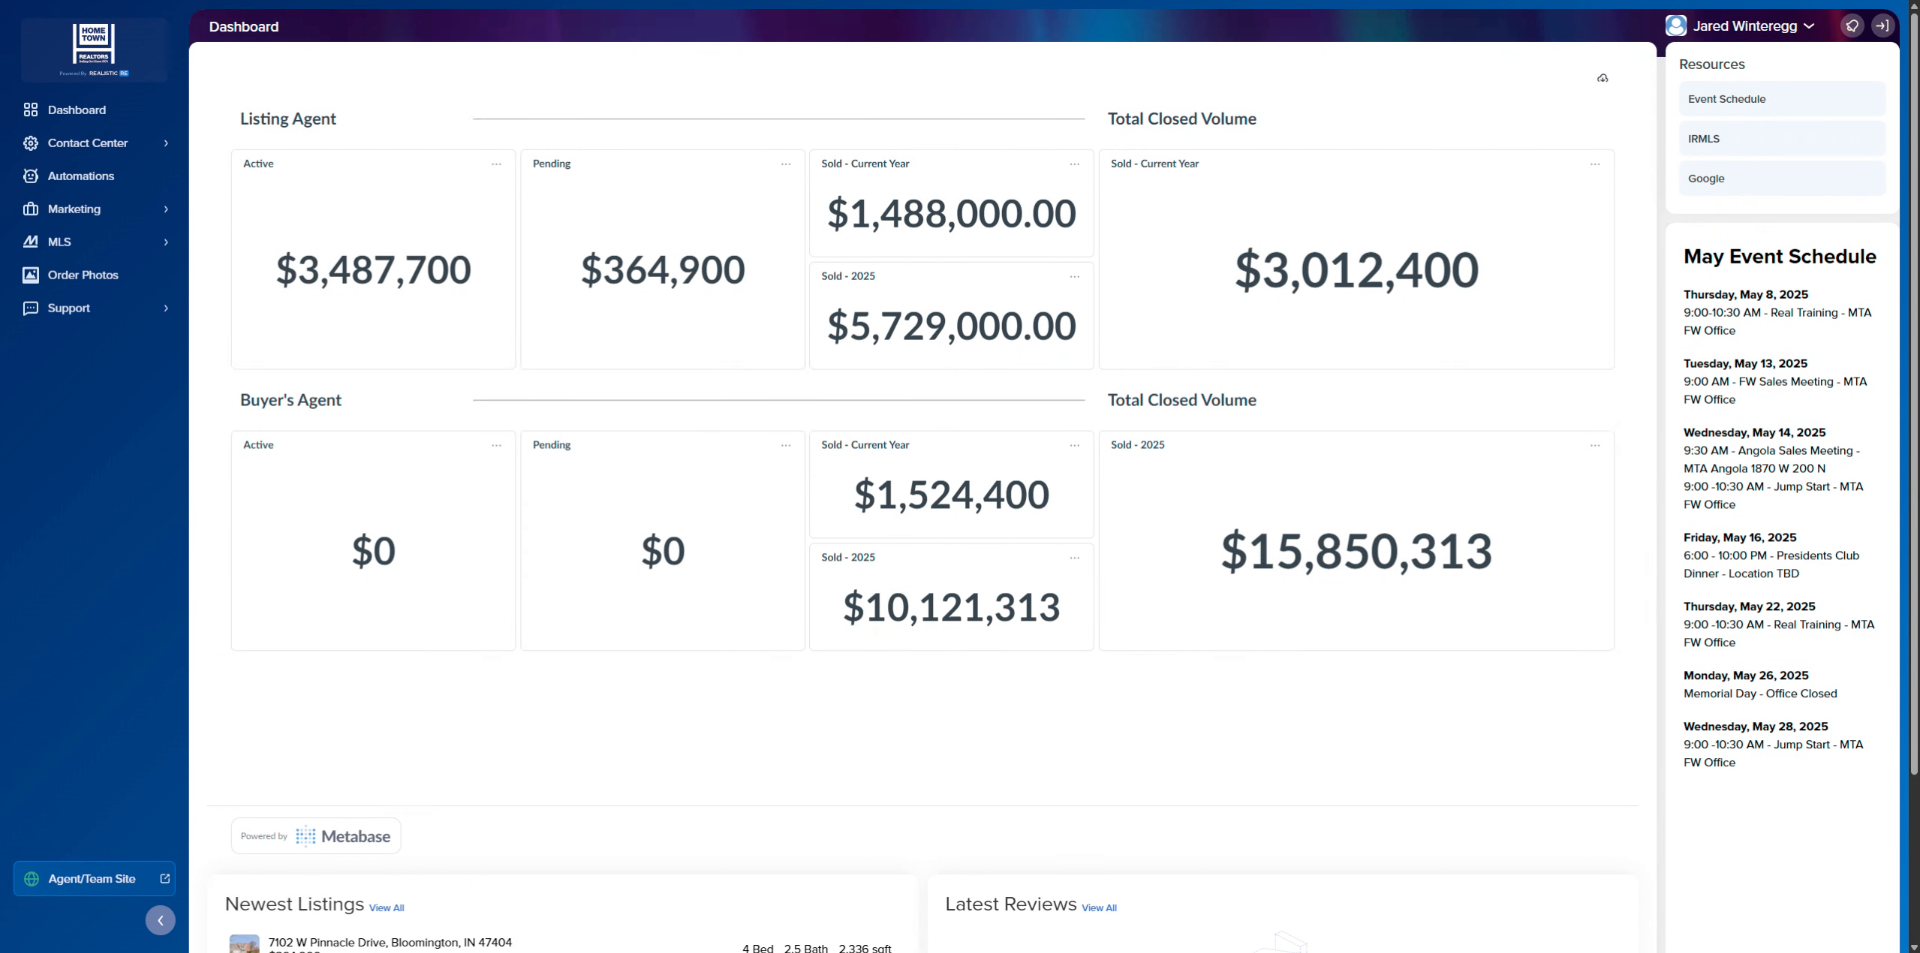
4. Access Dashboard Menu
Click here to open the profile menu on the Dashboard.
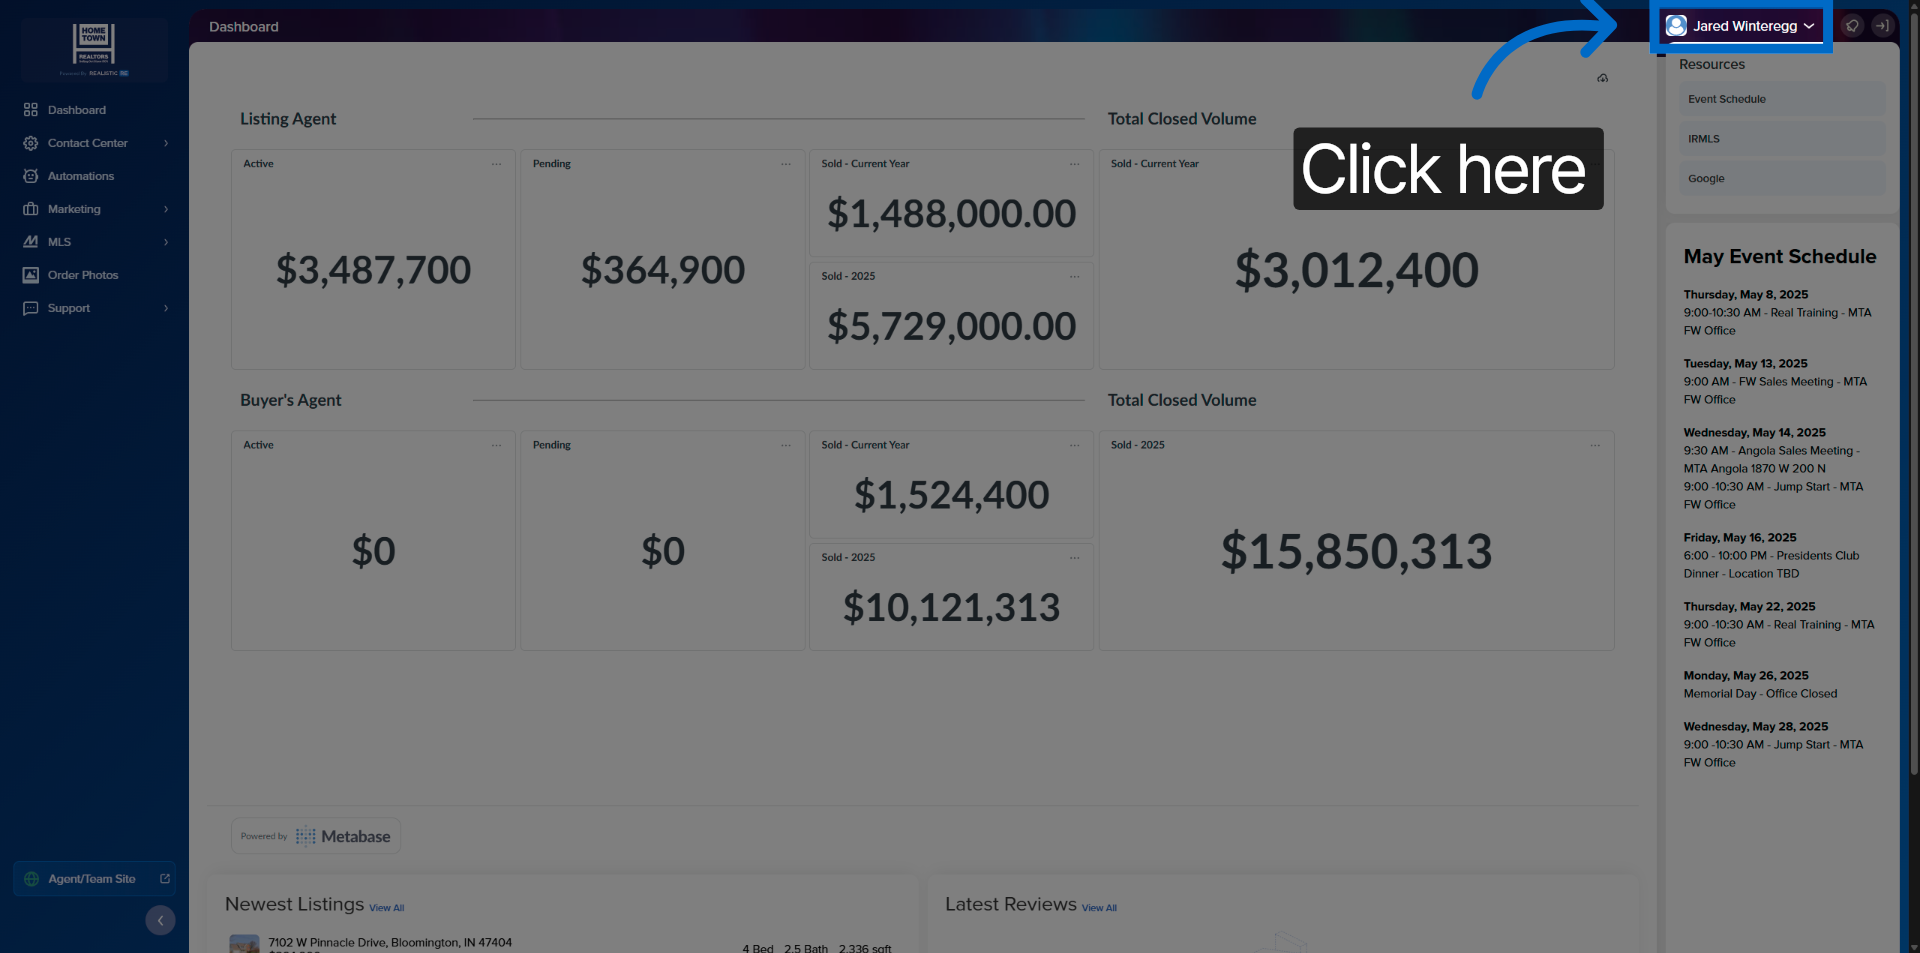
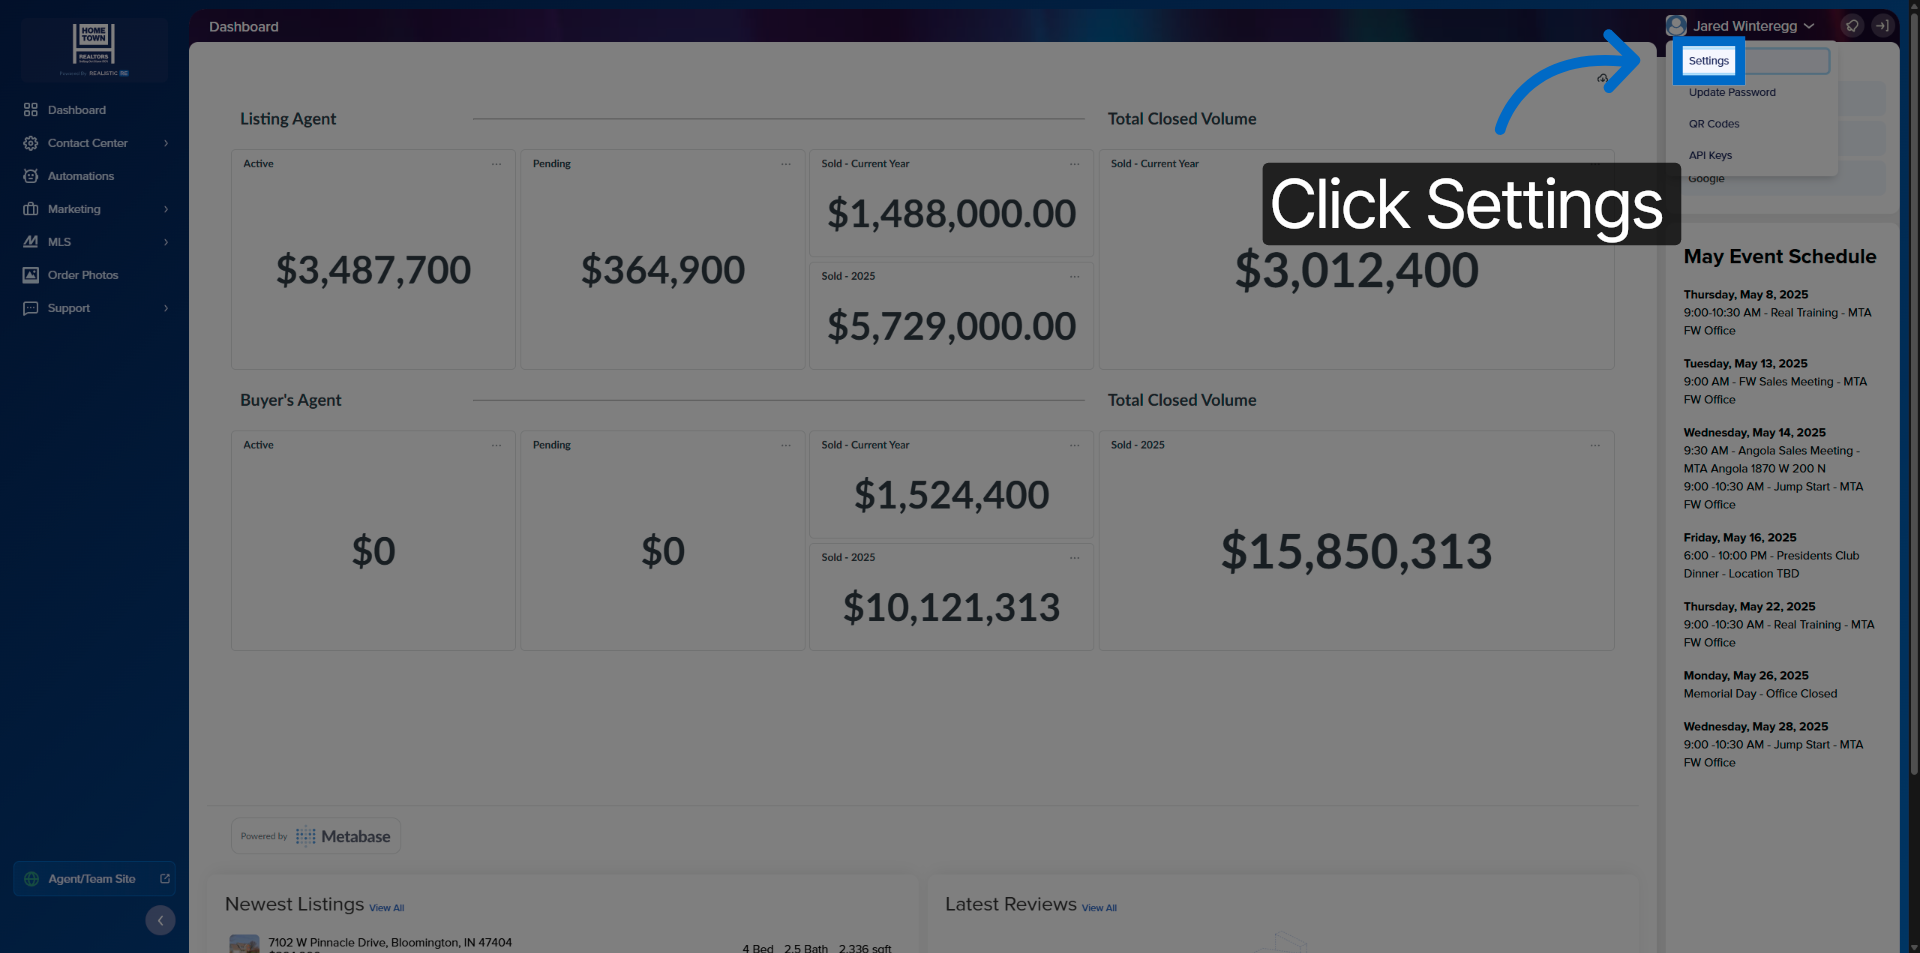
5. Open Settings Section
Click "Settings" to access your profile configuration options.
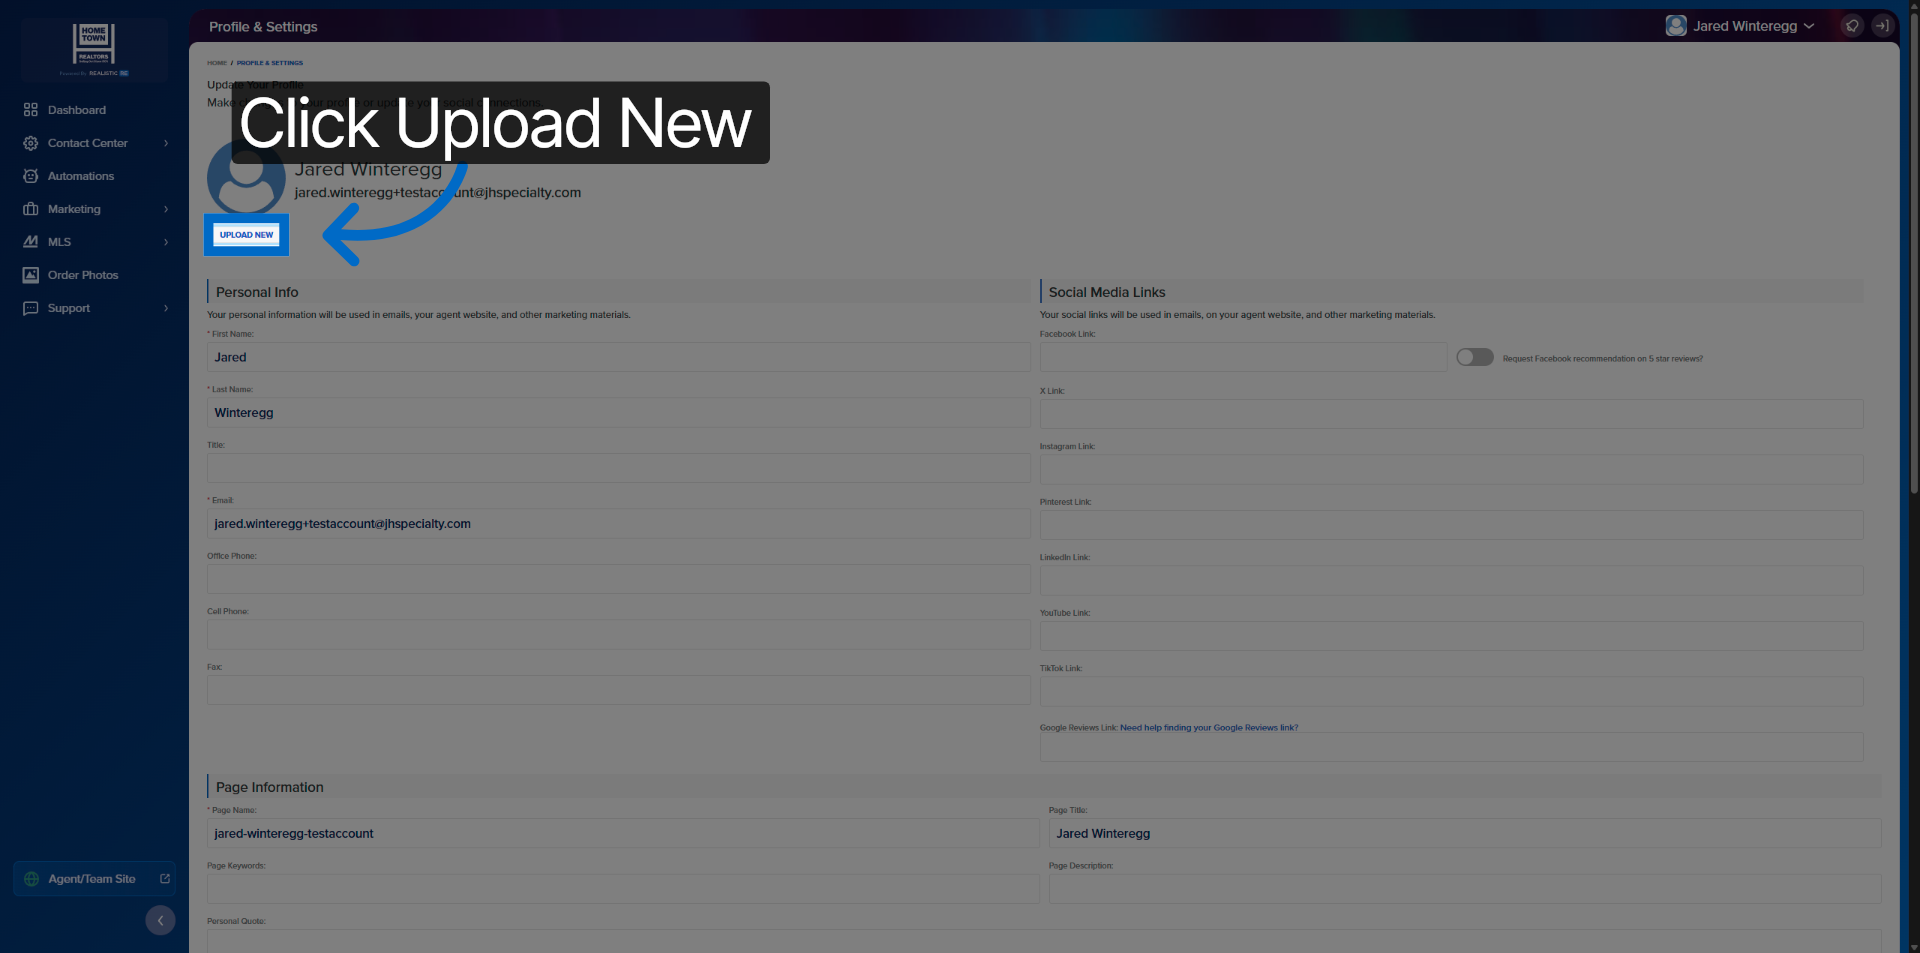
6. Initiate Image Upload
Click "Upload New" to start adding a new profile image.
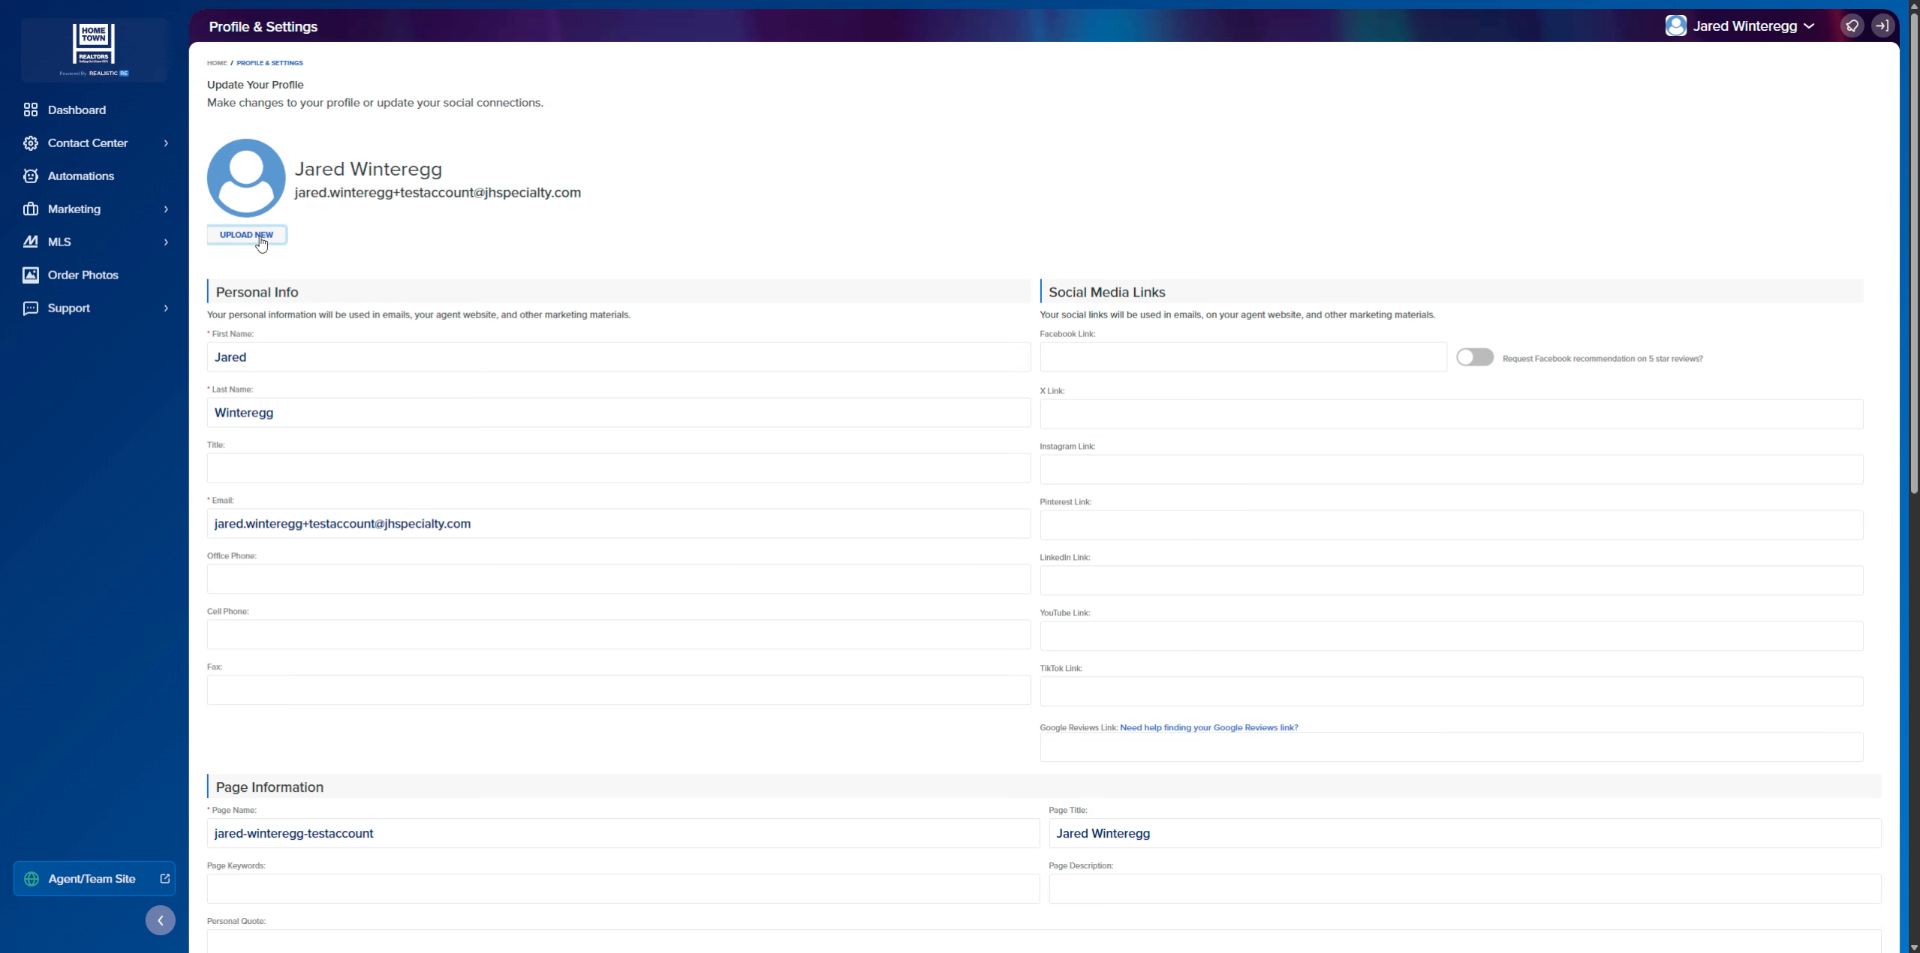
7. Select Image File
Select an image to upload.
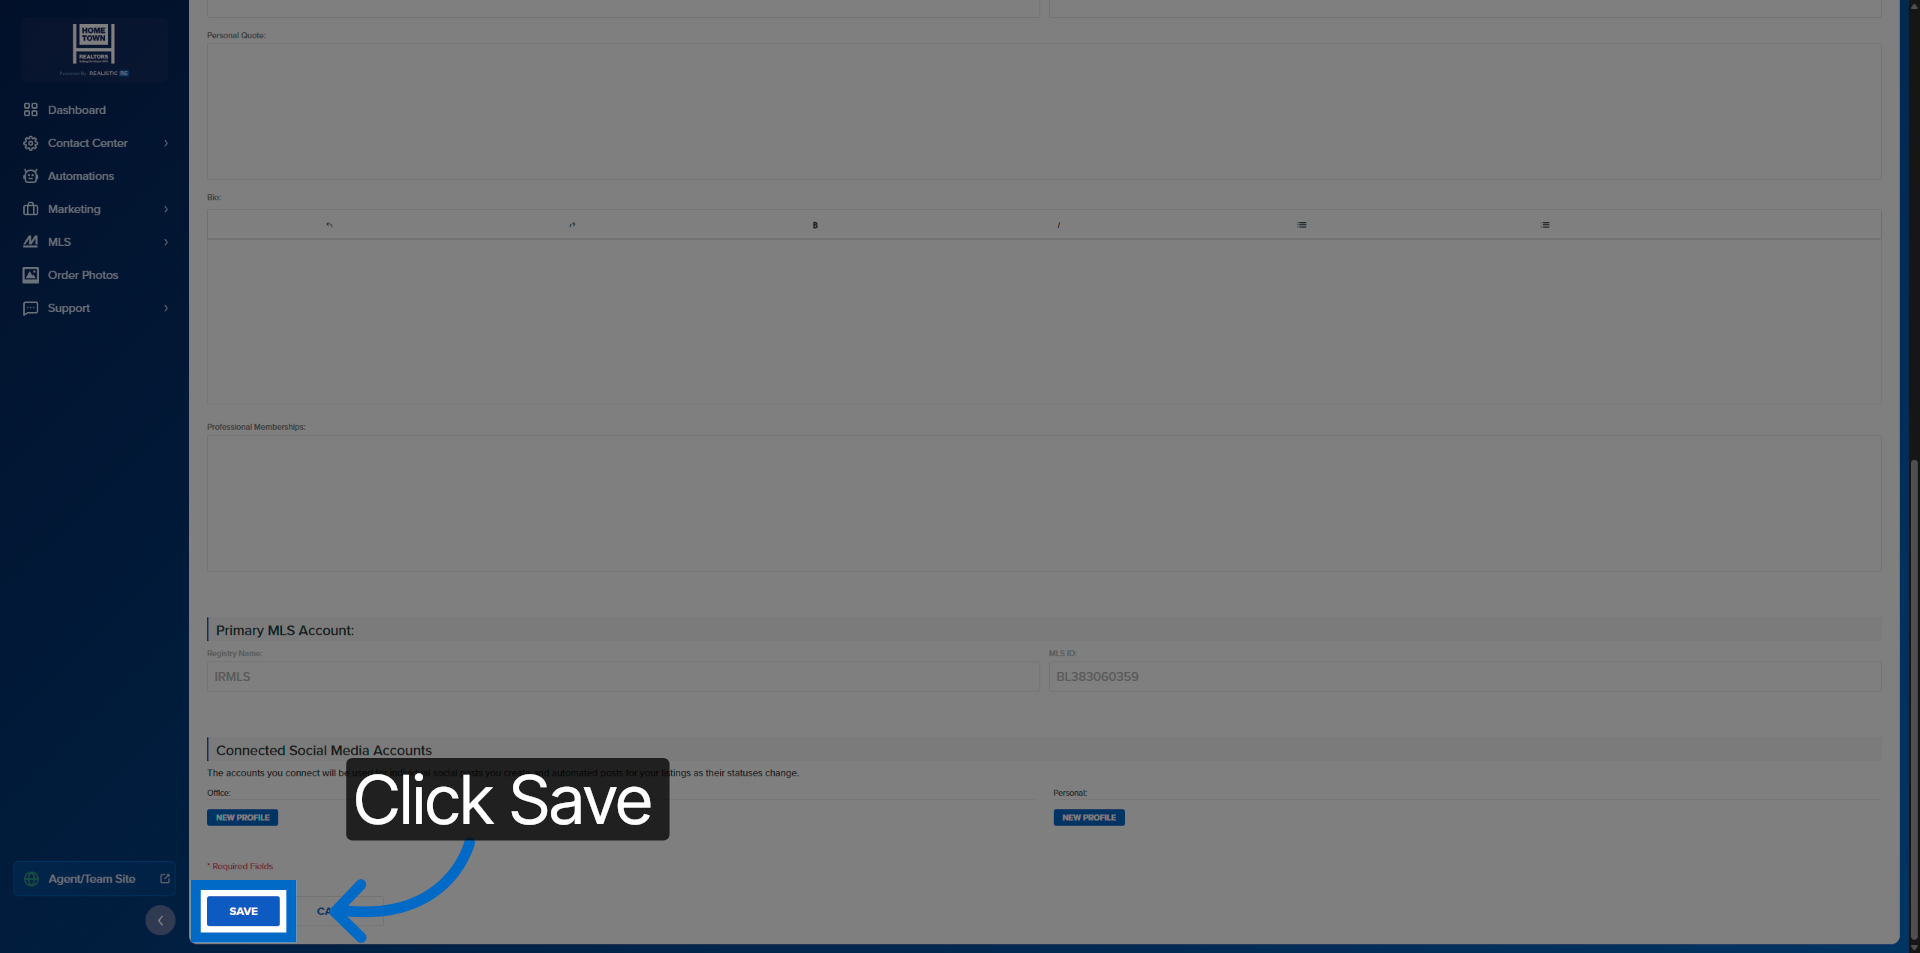
8. Save Profile Image
Click "Save" to upload and apply the new profile image.
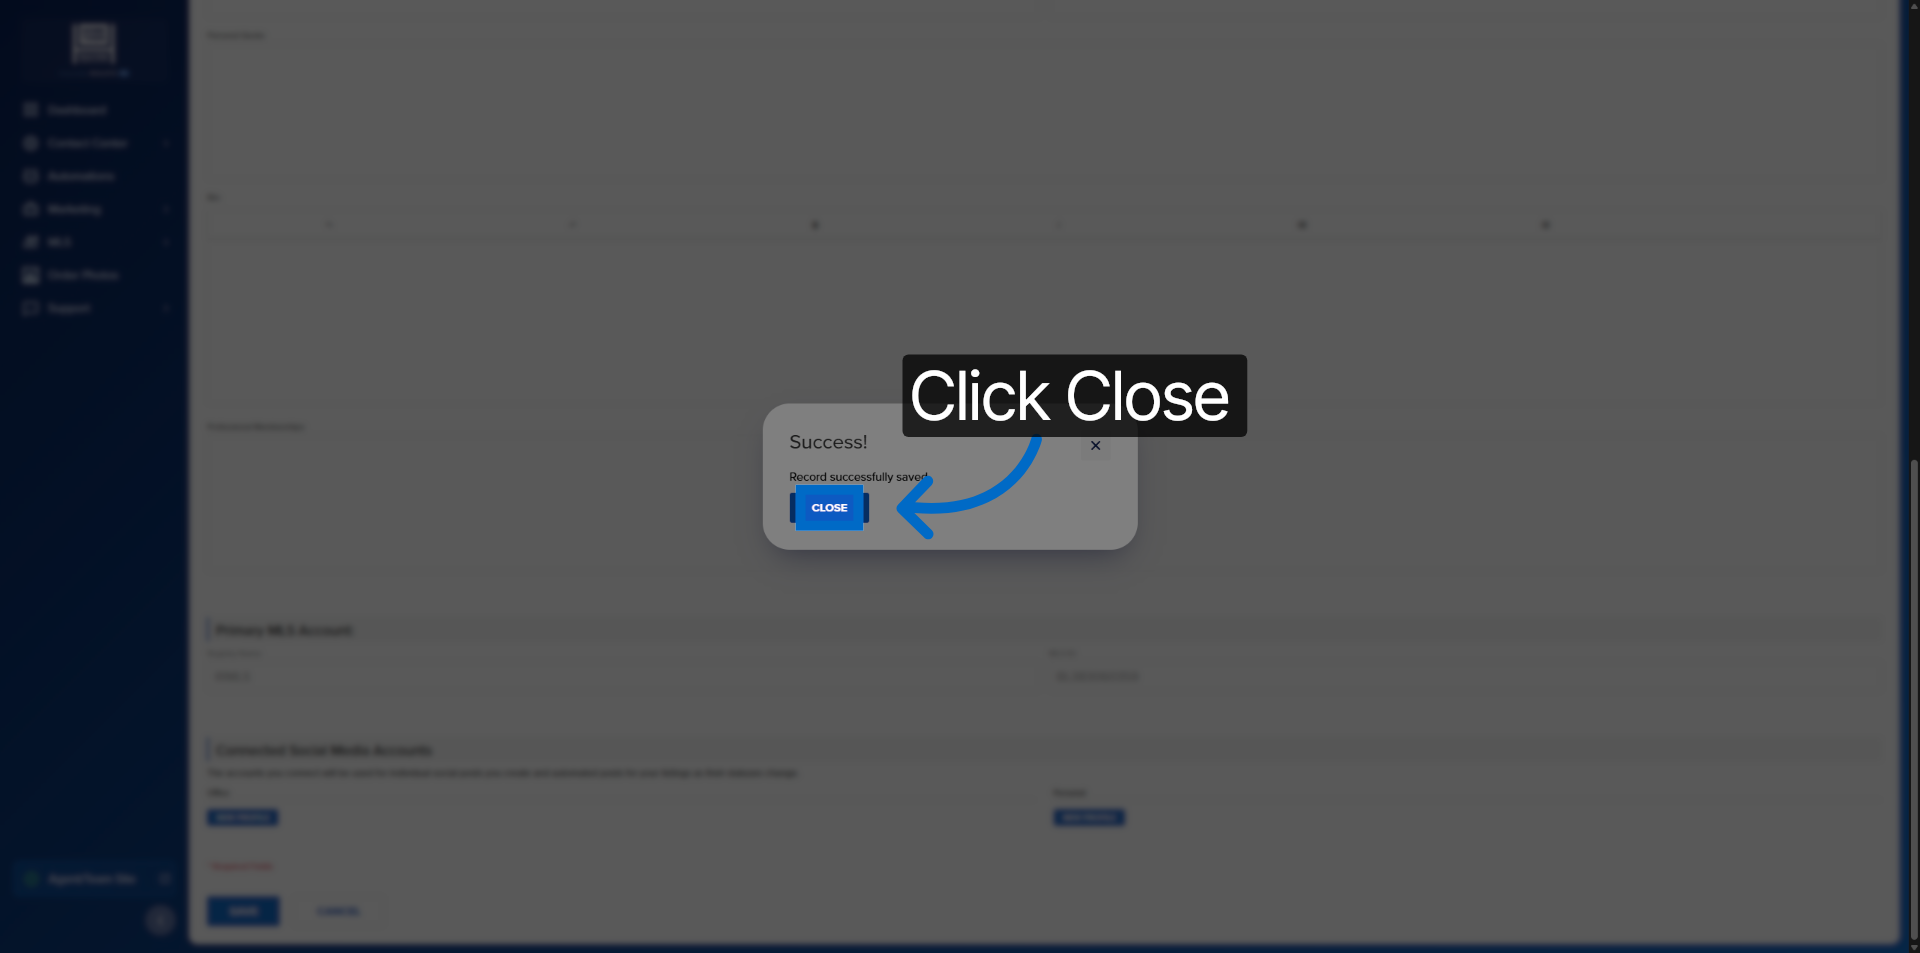
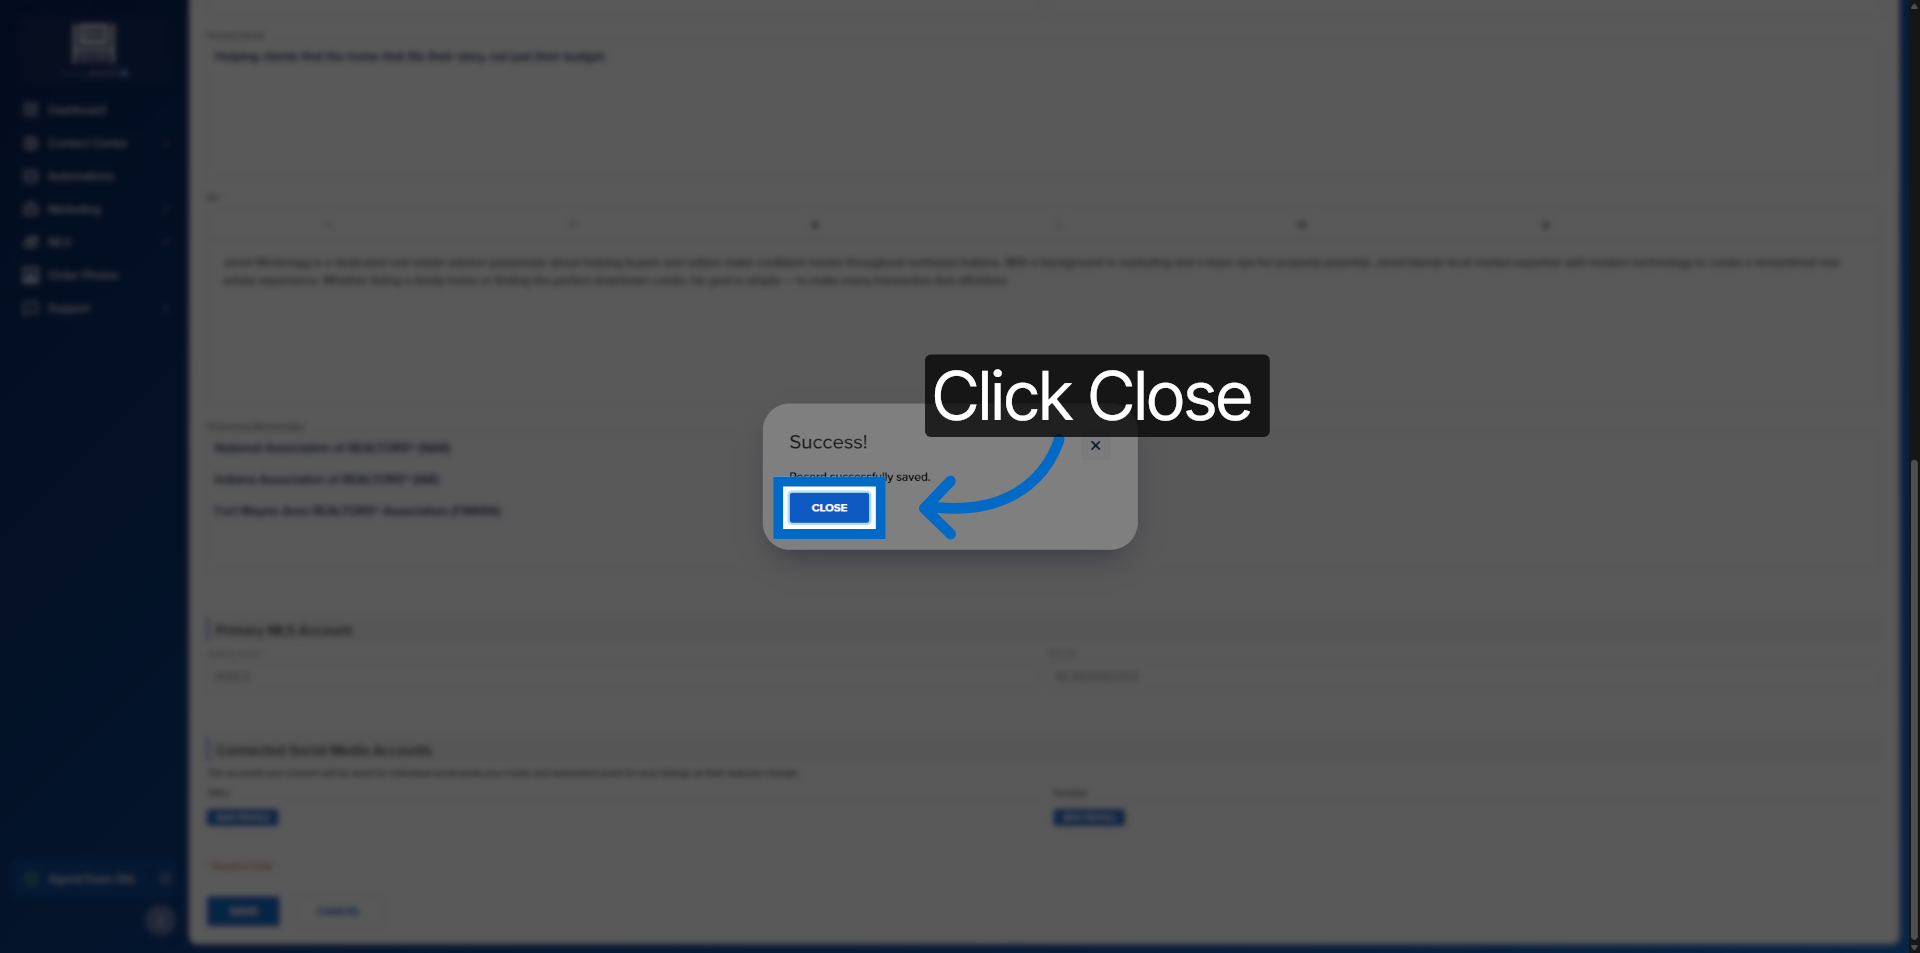
9. Close Upload Dialog
Click "Close" to exit the image upload interface.
10. Return to Profile Settings
To continue updating your profile settings.
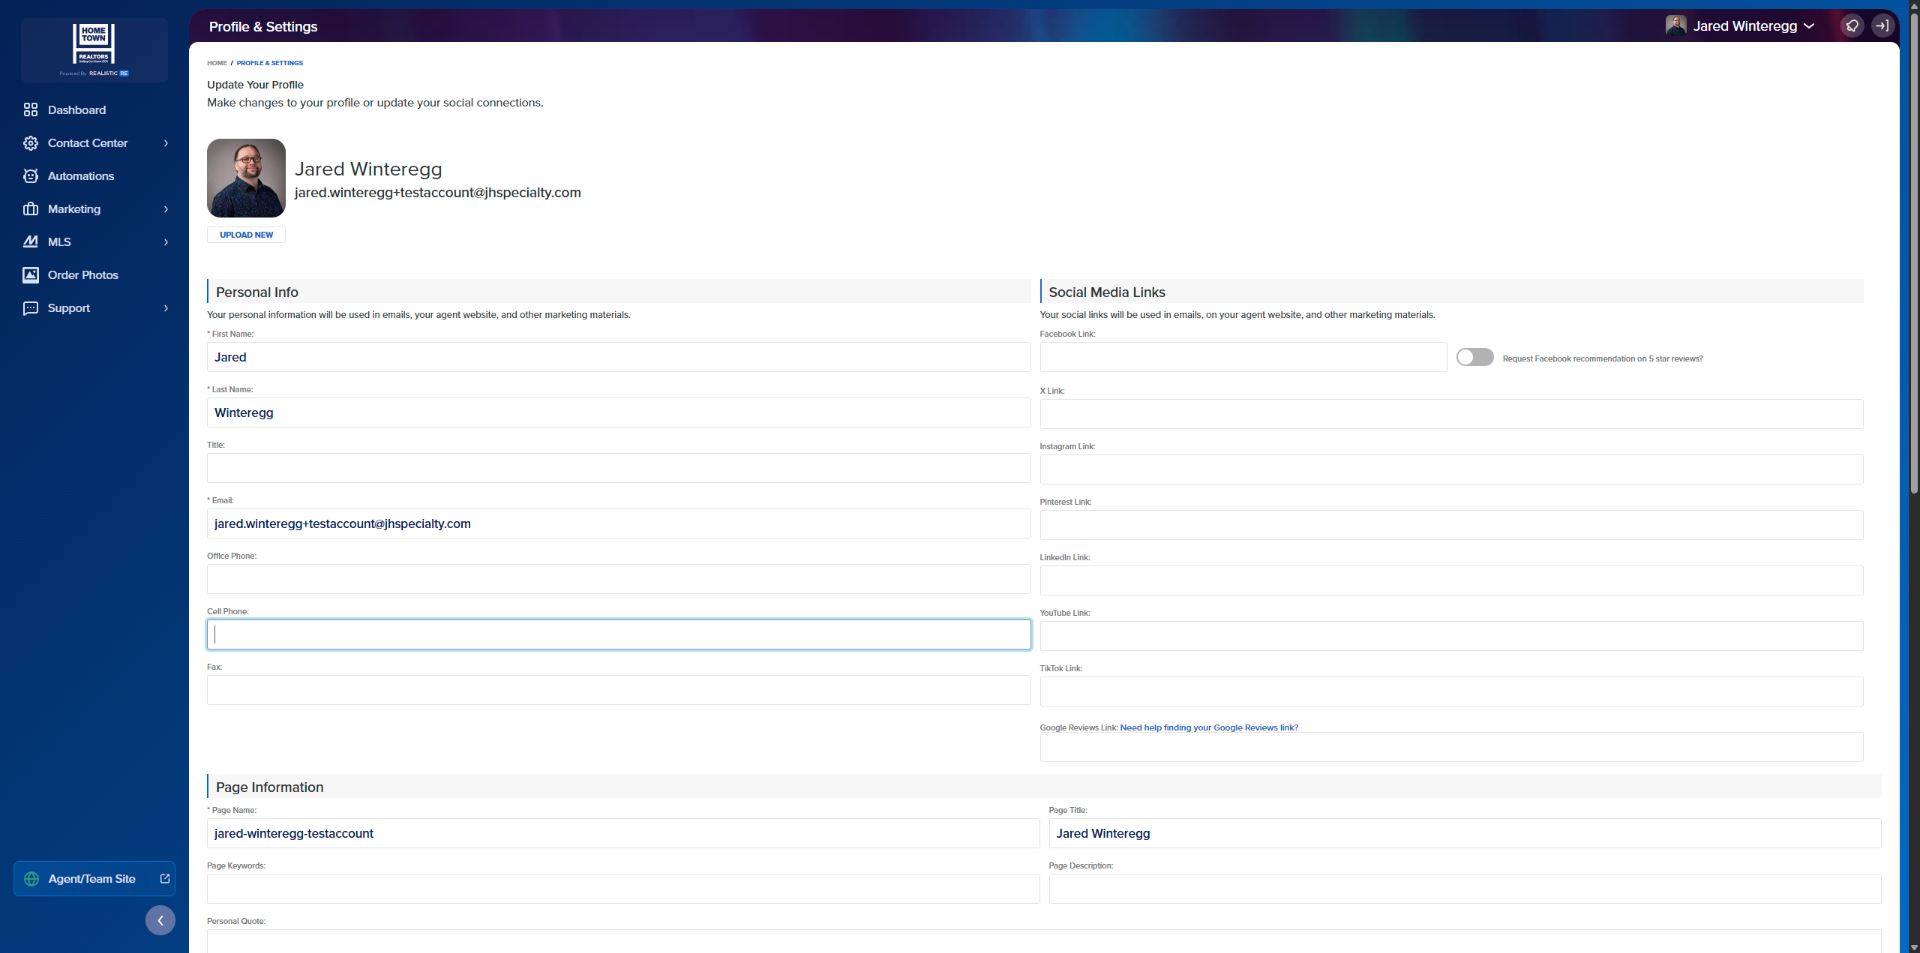
11. Add Your Phone Numbers
Click "Office Phone" or "Cell Phone" to modify your contact number in the profile settings.
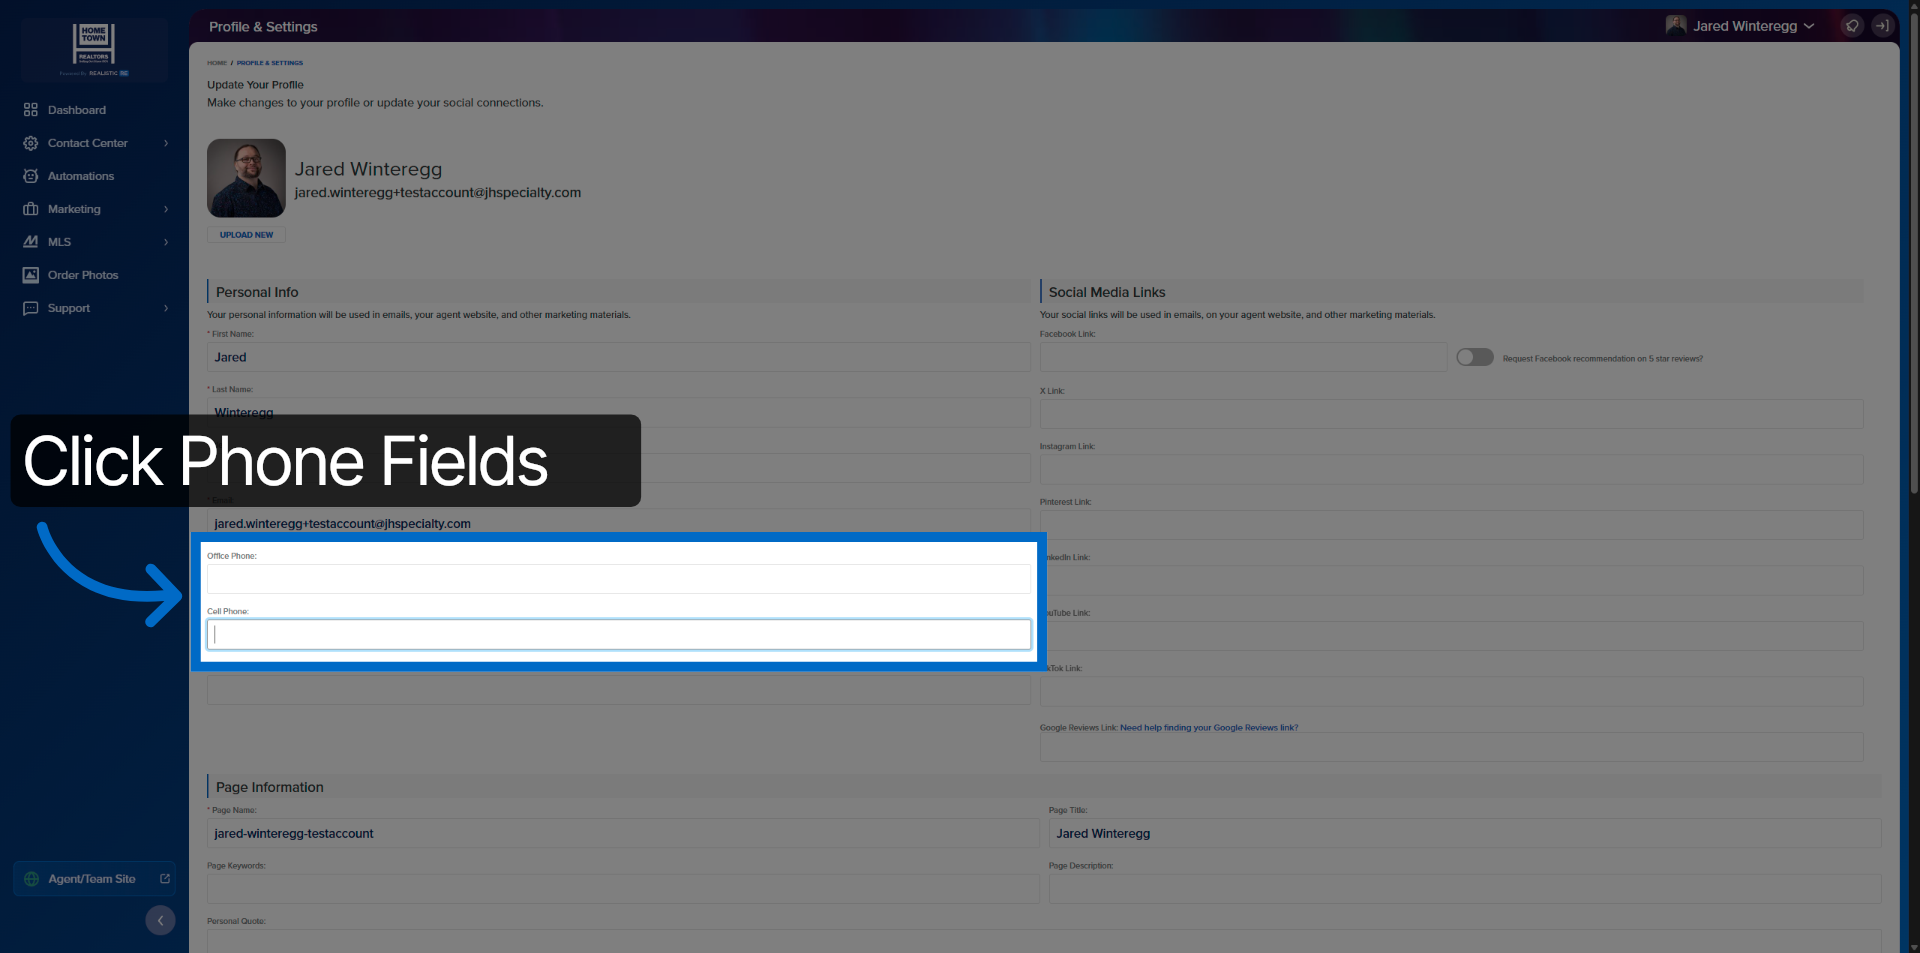
12. Add Your Social URLs
Copy and Paste your links to any of the social accounts you would like to use.
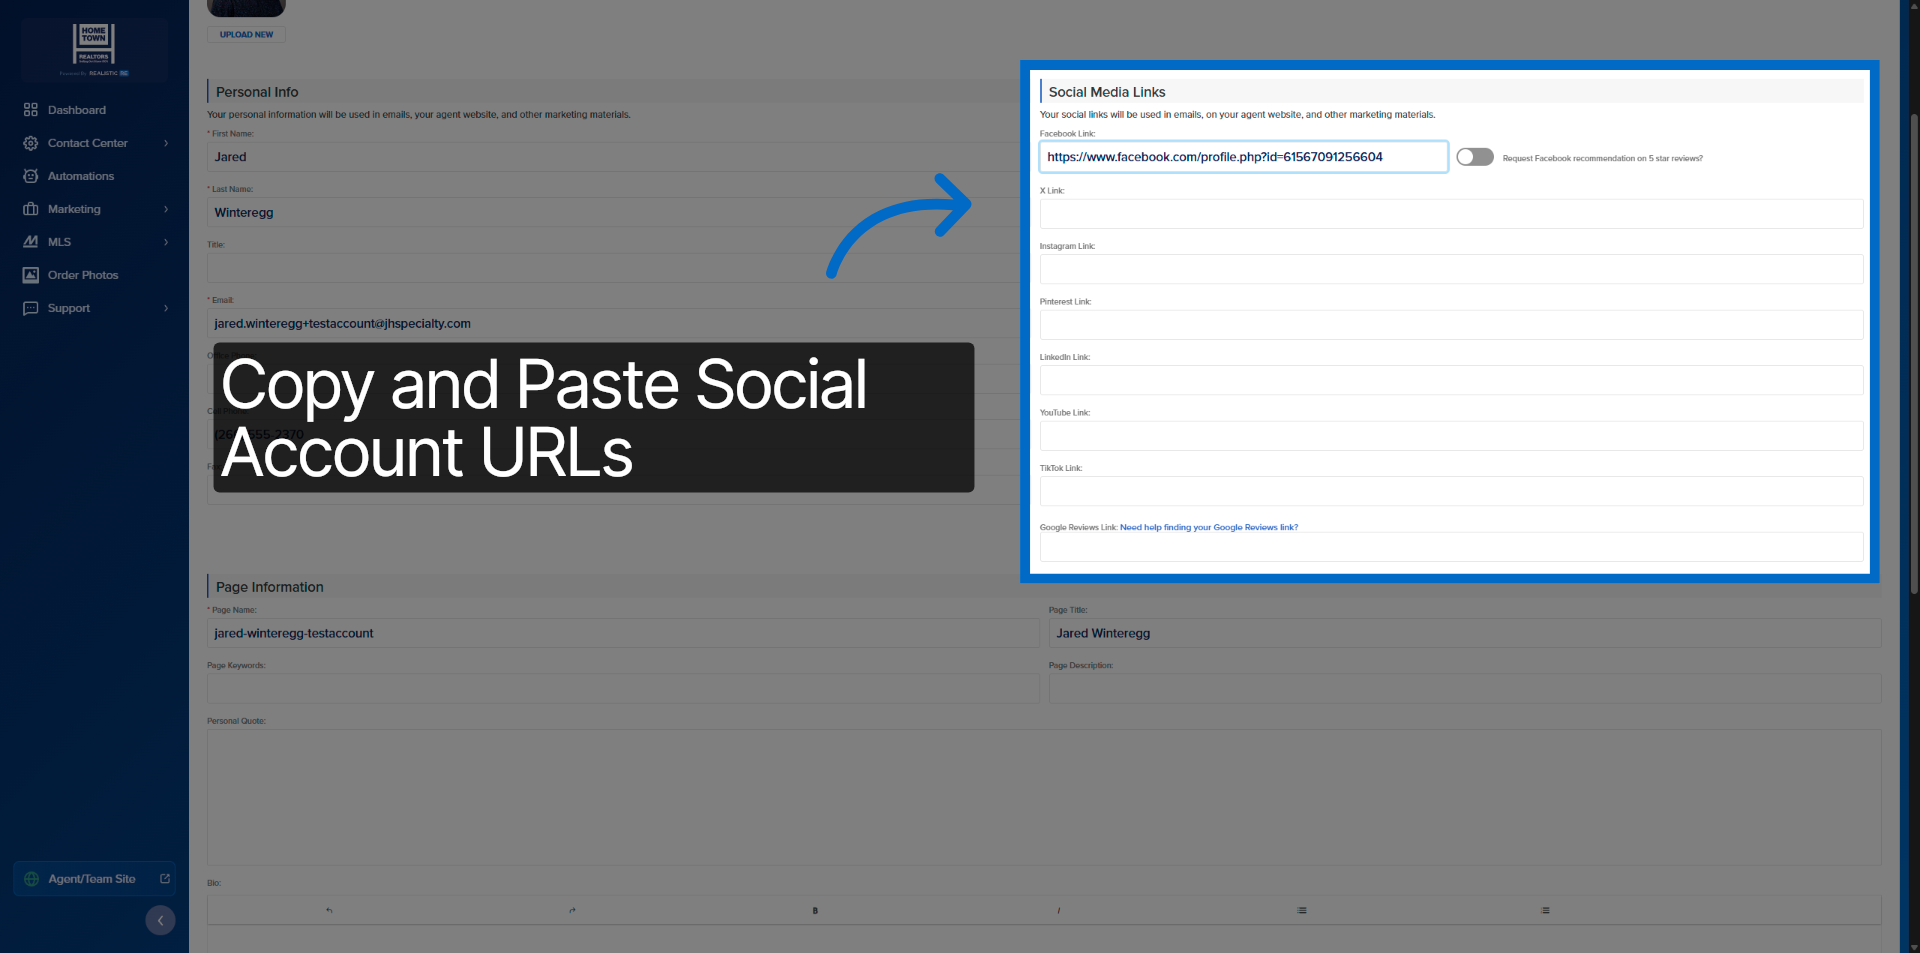
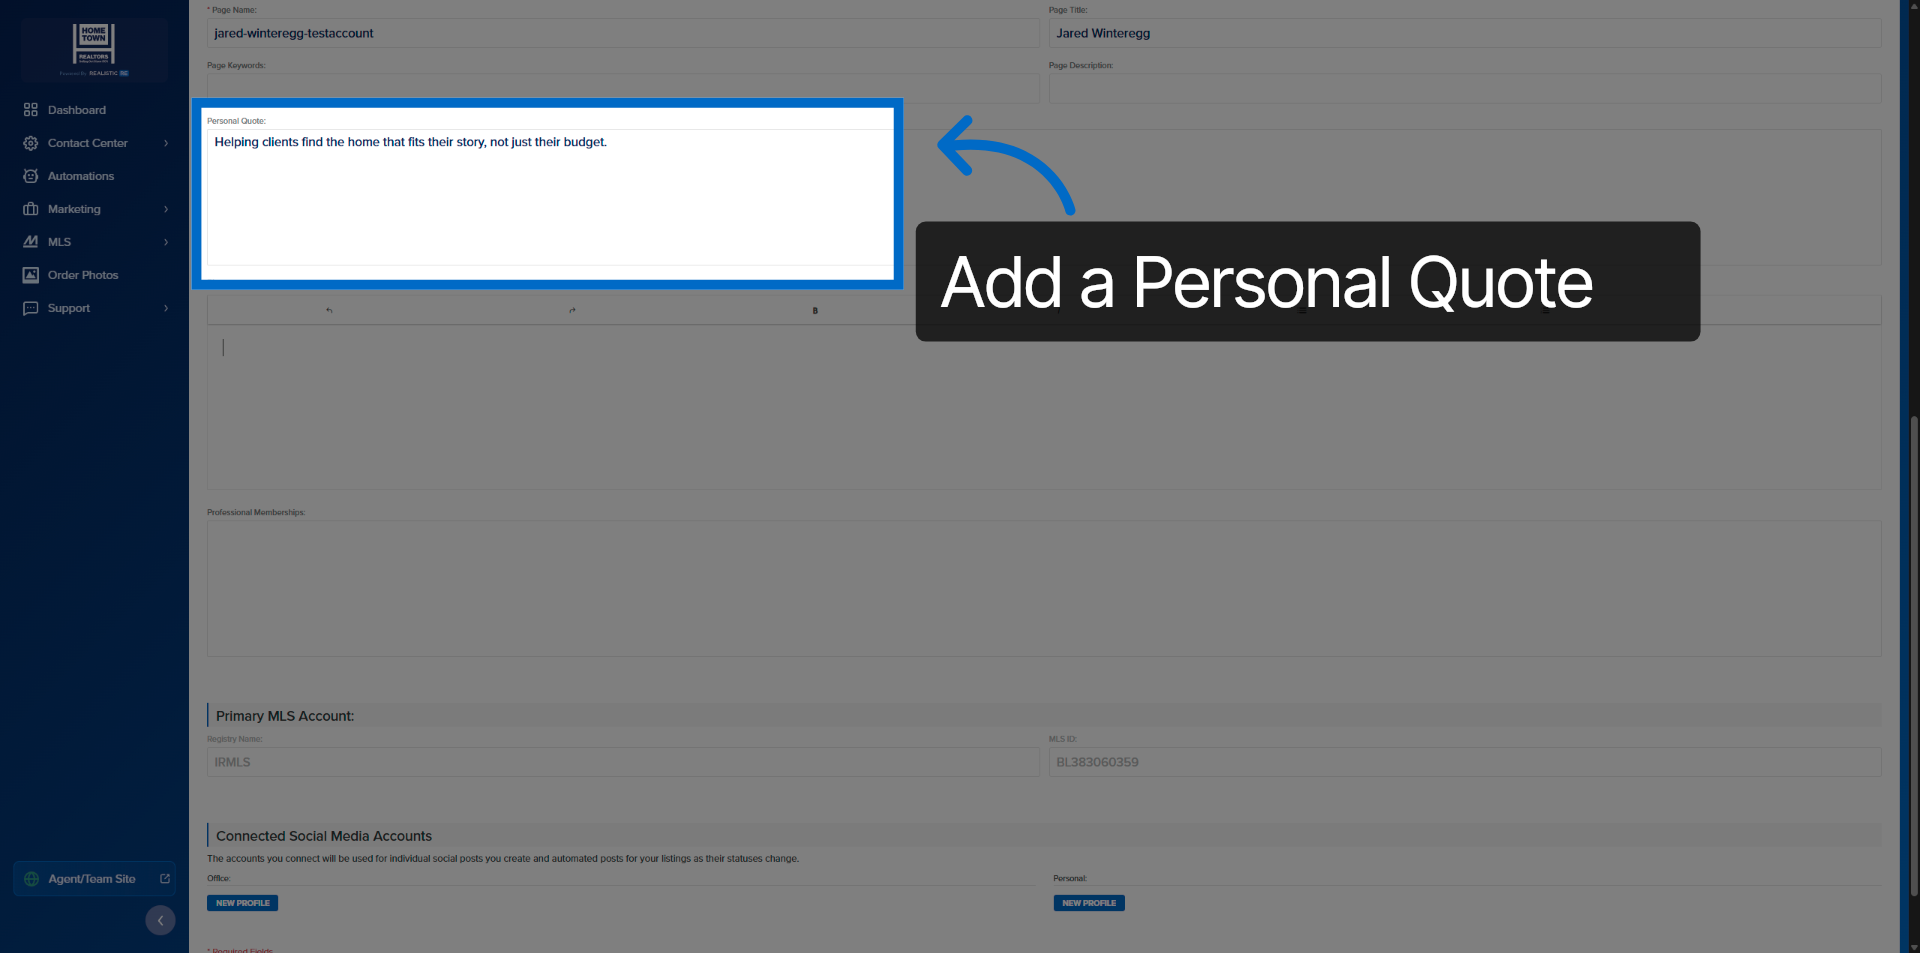
13. Add Your Personal Quote
If you have a personal quote you can add in here.
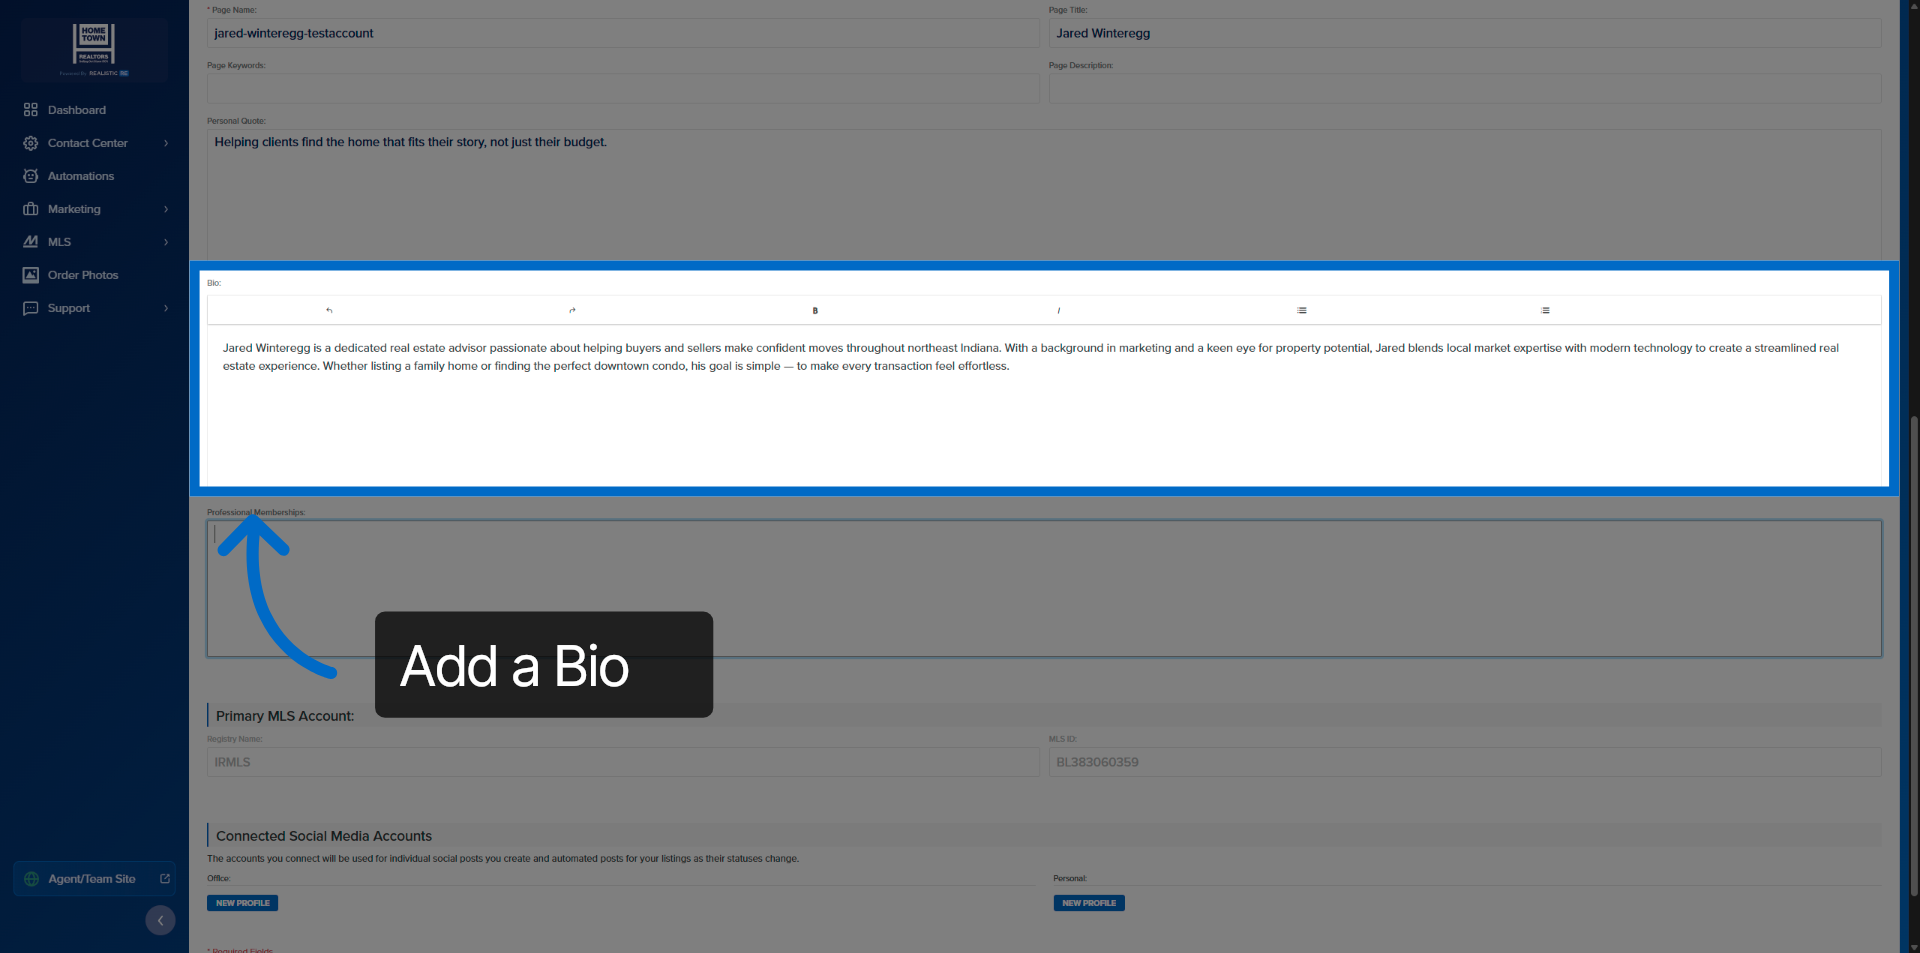
14. Add Your Bio/Profile Information
You can include details about yourself in the bio.
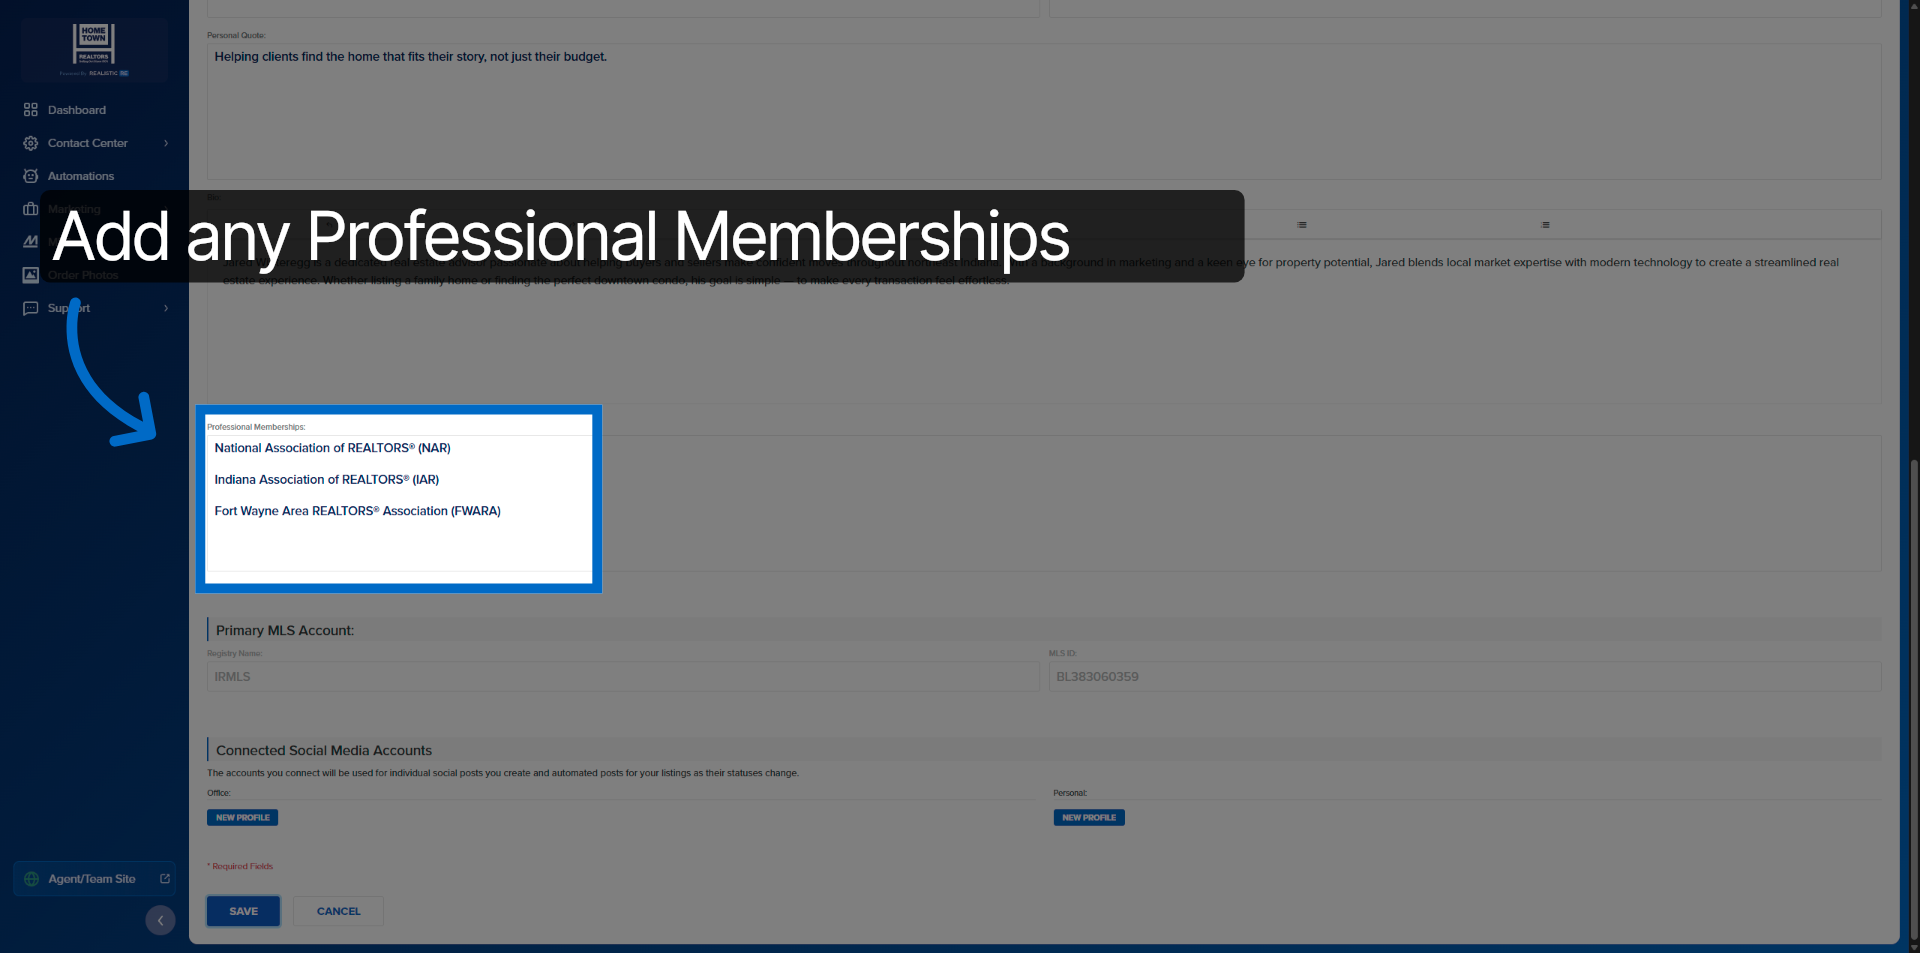
15. Adding Professional Memberships
Click "Professional Memberships" to add or modify your affiliations.
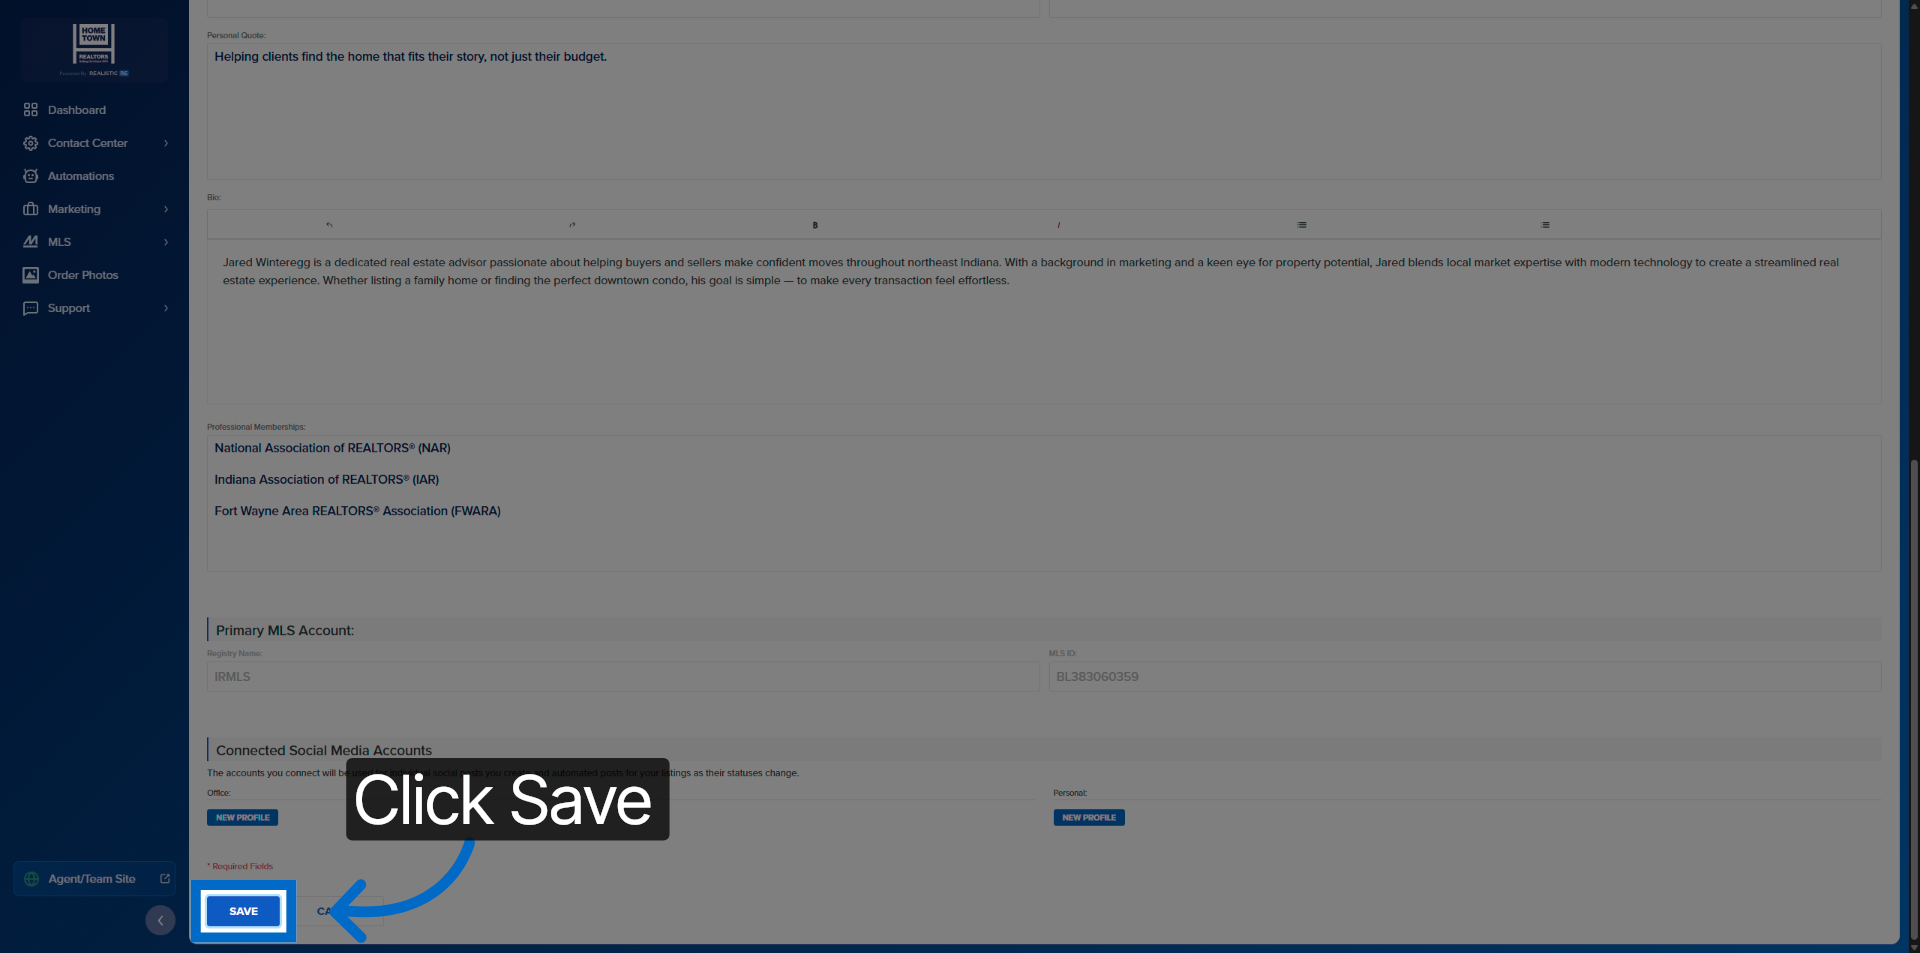
16. Save Profile Changes
Click "Save" to apply all your profile updates and settings.
17. Close Settings Interface
Click "Close" to exit the profile settings and return to the main dashboard.
18. Completed
You have successfully configured your profile settings by uploading your profile image, updating contact information, linking social media, and managing professional memberships.
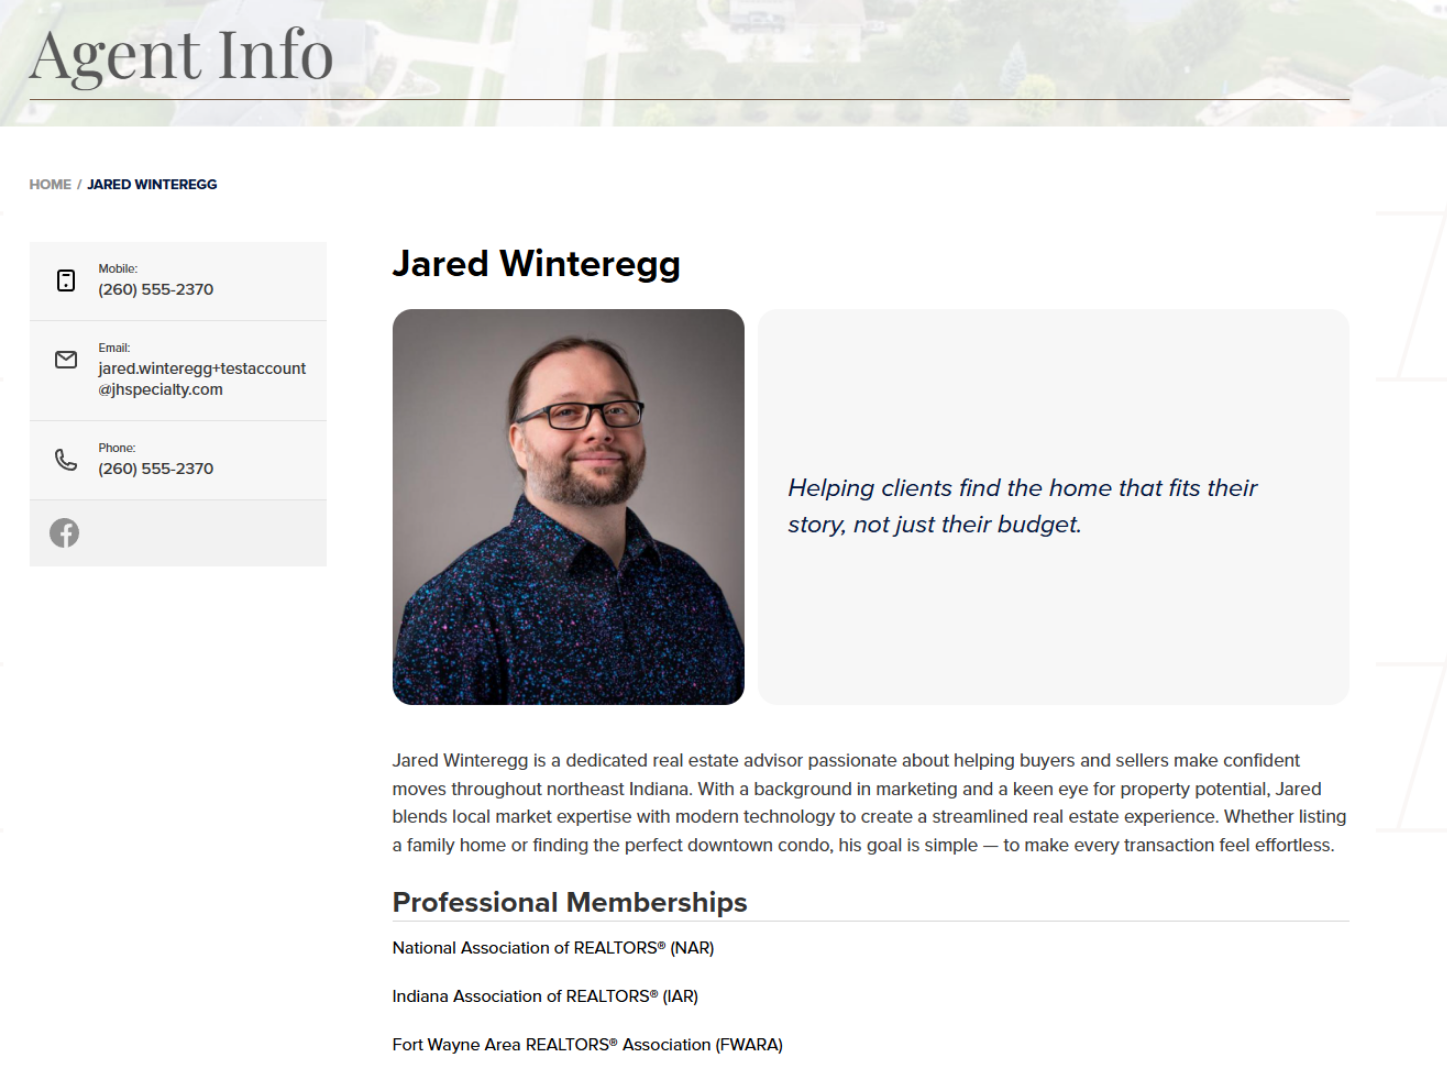
These steps ensure your agent profile is complete and ready for effective client engagement.
Next Step:
Connect your Facebook account.